Why Washing Produce the Right Way Actually Matters for Food Safety
I once got hit with food poisoning from a salad I made at home — not a sketchy food truck, not a buffet, my own kitchen. Turned out I’d just rinsed the lettuce under cold water for about two seconds and called it done. That was a rough 48 hours I’d very much like to forget.
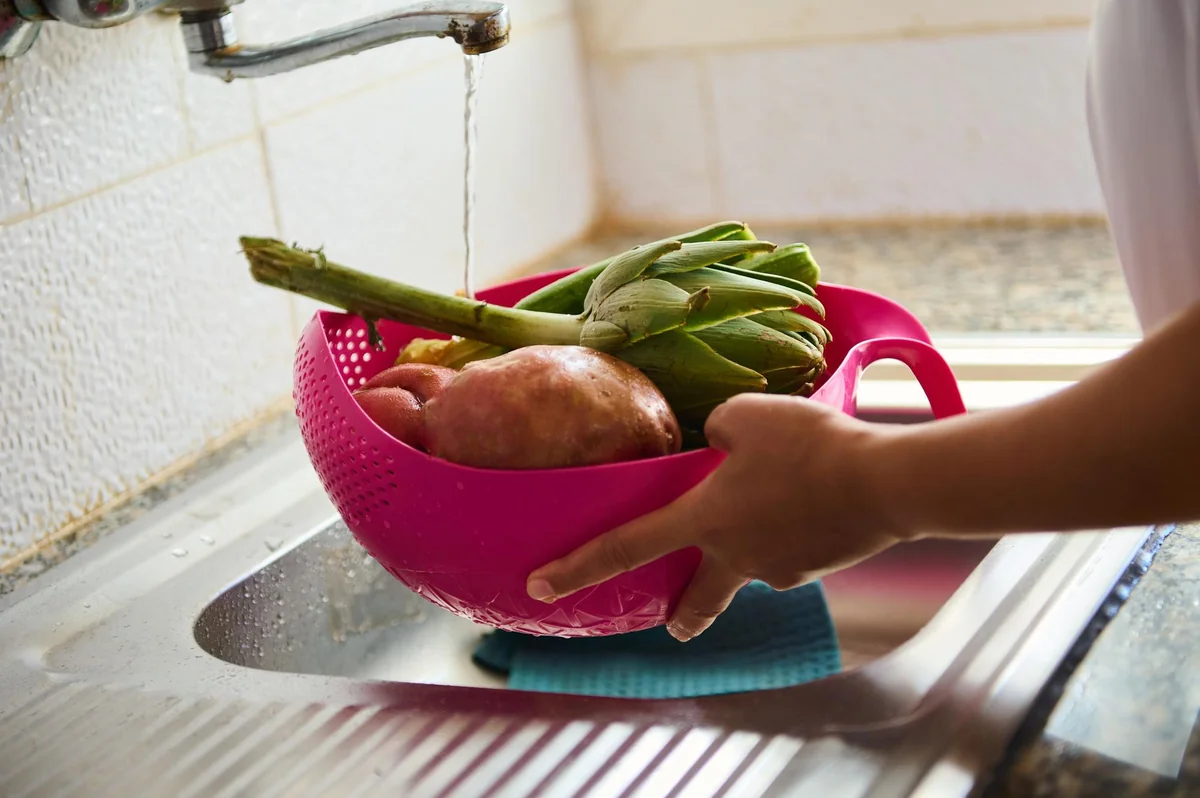
Here’s the thing most people don’t realize: plain water alone isn’t always cutting it. The FDA recommends running produce under cool water for at least 20-30 seconds while rubbing the surface with your hands — no soap, no produce wash, just friction and water. But how you dry it matters just as much. A lot of people grab whatever paper towel is nearby, but honestly, single-use Disposable Facial Towels have been picking up traction in food-prep circles because they’re lint-free and don’t shed fibers onto your food the way cheap paper towels sometimes do. Small thing. Real difference.
And then there’s the stuff you can’t see.
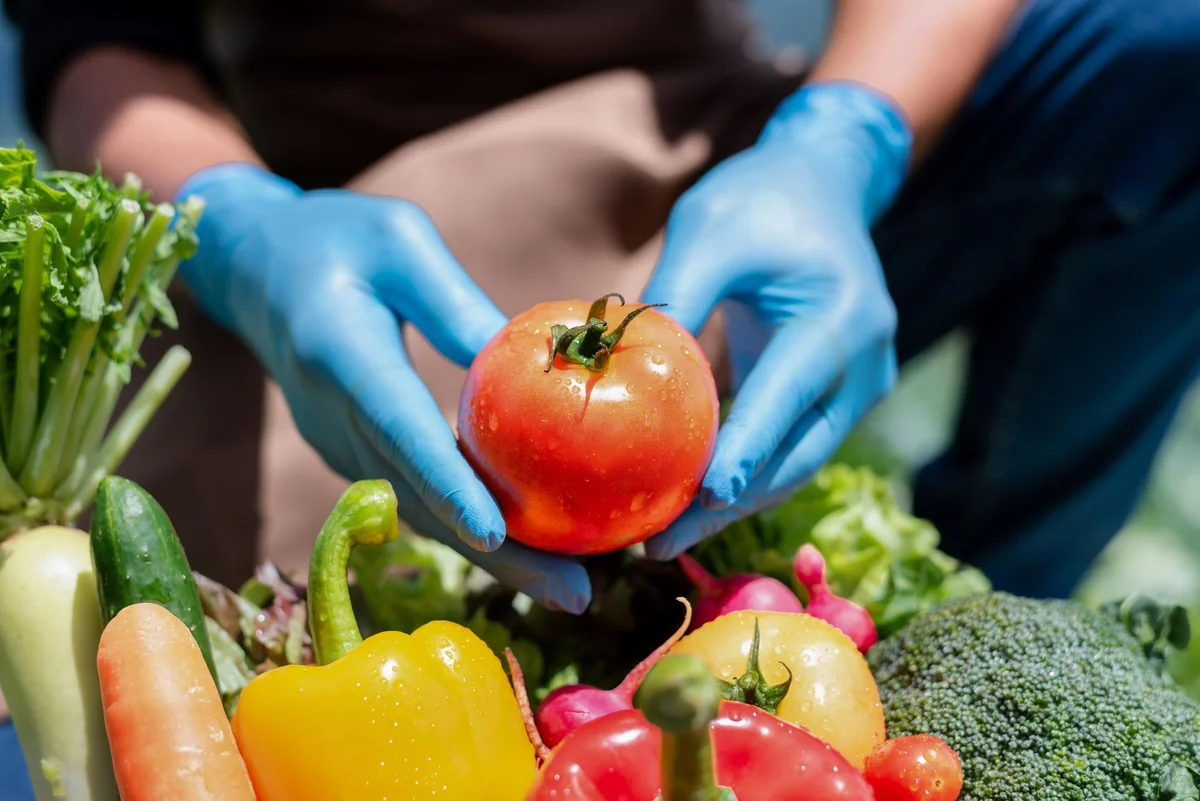
Pesticide residue, bacteria like E. coli and Salmonella, wax coatings on cucumbers and apples — none of that is visible to the naked eye. This is where food safety basics actually start to feel less like common sense and more like a discipline. Some people swear by a baking soda soak (one teaspoon per two cups of water, give it 15 minutes), and there’s actually peer-reviewed research backing that up for pesticide removal. If you’re really trying to test whether your current method is working — there are Rapid Test Kit options available for home use now that can detect certain contaminants, which feels almost excessive until you’ve had the 48-hour stomach situation I mentioned.
Cross-contamination is the sneaky villain here. You wash your strawberries, then set them on a cutting board you just used for raw chicken — congratulations, you’ve undone all your work. The produce itself isn’t the only variable. Your surfaces, your tools, even the water pressure matters (low-flow setups can reduce rinse effectiveness, kind of like how an nd1000 filter cuts light — it changes what gets through).
- Always wash produce right before eating, not when you get home from the store
- Use a dedicated produce brush for firm-skinned items like potatoes and melons
- Rinse even pre-washed bagged greens — that label is not a guarantee
- Keep raw meat and produce on completely separate prep surfaces
Boring advice? Sure. But food safety basics being boring is kind of the point — it’s supposed to be automatic, not exciting. The Jewelry Showcase at your local market gets more careful handling than most people give their produce, and that’s genuinely a little wild when you think about it. Meanwhile, real contaminant control — the kind that automotive cnc machining plants use for precision cleaning protocols — operates on principles that aren’t that far removed from what we should be doing in our own kitchens: controlled process, consistent repetition, no shortcuts. And if you’re also taking Genuine supplements to support your immune system, great — but they’re not a substitute for just washing your food properly in the first place.
The Correct Way To Wash Different Types of Fruits and Vegetables
OK so here’s something I got wrong for years: I used to rinse berries the second I got home from the store. Dumped them straight into a colander, ran the tap, done. Turns out that’s one of the faster ways to make them go mushy and moldy before you even get to eat them — moisture sitting on soft fruit is basically a welcome mat for bacteria. Wash berries right before you eat them. Not before. That one change made a real difference for me.
Different produce genuinely needs different handling, and treating everything the same is where most people go wrong with food safety basics. Here’s what actually works:
- Firm produce (apples, cucumbers, potatoes, carrots) — scrub these under cool running water with a dedicated produce brush. Thirty seconds minimum. The skin is edible or gets peeled after, so either way you’re controlling what gets transferred to the flesh by your knife.
- Leafy greens (lettuce, spinach, kale) — separate the leaves, submerge them in a bowl of cold water, swish them around, then lift them out. Don’t pour the water out over the greens — you’ll just dump the sediment back on them. Dry with Disposable Facial Towels if you’re prepping ahead; cloth towels can harbor bacteria between uses.
- Soft berries and grapes — gentle rinse right before eating. That’s it. No soaking.
- Melons and avocados — yes, you wash the outside even though you don’t eat it. Your knife drags surface bacteria straight through the flesh when you cut in.
- Mushrooms — quick damp wipe or a very brief rinse. They absorb water like crazy and get weird fast.
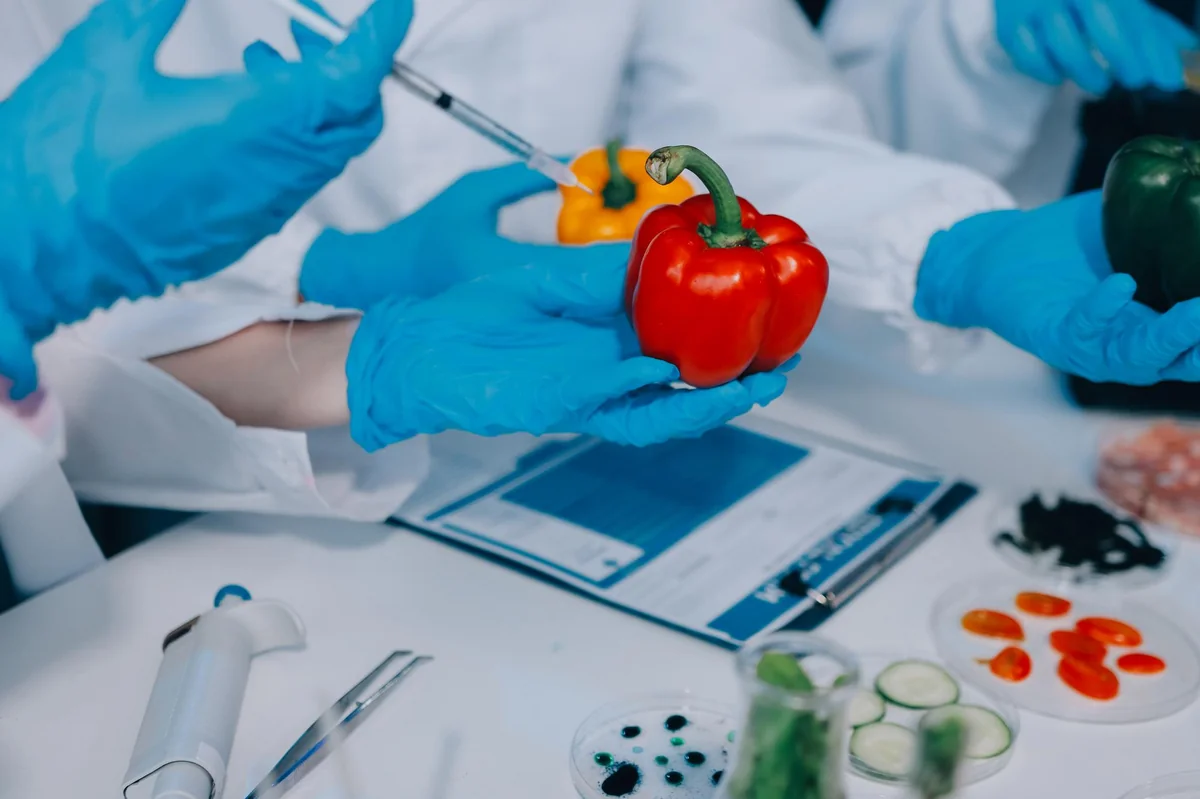
One thing worth having in your kitchen — and I picked one up for under $30 — is a Rapid Test Kit for surface contamination. Sounds extreme, I know. But if you’ve got young kids or immunocompromised family members, knowing your cutting board isn’t harboring listeria is actually useful information, not paranoia. Same principle as the precision cleaning protocols we mentioned earlier — controlled, consistent, repeatable. That’s the whole game with food safety basics.
And skip the produce washes, the vinegar soaks, the soap. Plain cold running water, proper technique, and a clean surface. Every time.
Common Produce Washing Mistakes That Could Make You Sick
I watched my neighbor — someone who genuinely cares about food safety basics — scrub a cantaloupe with dish soap for a solid two minutes. Proud of herself. Completely wrong approach, and honestly, the soap thing might be worse than doing nothing at all because residue gets pulled into the rind when you slice through it.

So here are the mistakes I see constantly:
- Washing produce after you’ve already set it on a dirty counter — you’re just redistributing contamination at that point.
- Using hot water. Cold running water only. Heat doesn’t help here and can actually soften the skin on delicate fruits, letting bacteria in deeper.
- Skipping the wash on things you’re going to peel — avocados, melons, citrus. Your knife drags surface bacteria straight through as you cut. Every single time.
- Letting washed produce sit in standing water. Rinse, don’t soak.
- Drying with a cloth towel that’s been sitting out for three days. Use something clean — I switched to Disposable Facial Towels for produce drying and honestly it solved a problem I didn’t even know I had.
And the vinegar soak thing. People swear by it. I tested it myself over a few weeks, cross-referencing with a Rapid Test Kit (same type I mentioned earlier) — the difference in surface contamination versus plain cold water was negligible. Save the vinegar for your salad dressing.
One thing that surprises people: bagged salad marked “pre-washed.” Most food safety basics guides will tell you — and the FDA backs this up — that rewashing pre-washed greens can actually introduce new contamination from your sink. Leave it alone.
The produce wash industry is a bit like the Genuine supplements space — lots of packaging confidence, not a lot of peer-reviewed support behind the claims. Plain water, done right, outperforms all of it.
Not glamorous. Not a Jewelry Showcase moment. Just effective.
Best Practices for Storing Clean Produce After Washing
OK so here’s where most people completely blow it — and I mean completely — after doing everything right during the washing step. You scrub your produce, rinse it properly, feel good about yourself, and then you just… toss it back into a wet plastic bag and shove it in the crisper drawer. Congratulations, you’ve created a little humidity chamber for bacteria to throw a party in.
Dry it first. Seriously.
I’ve been using Disposable Facial Towels for this — the ones marketed for skincare — and honestly they work better than paper towels for patting down delicate greens and berries because they don’t leave behind lint or tear apart the second they touch moisture. A little unconventional, sure, but food safety basics isn’t about being conventional, it’s about what actually works.
After drying, here’s what I’ve found holds up best for different produce types:
- Leafy greens: wrap loosely in a dry towel, store in an open container — airflow matters more than people think
- Berries: single layer on a paper towel, uncovered if possible, back of the fridge where temps are most stable
- Root vegetables and firm produce: breathable bag or mesh, never sealed airtight
- Herbs: treat them like flowers — trim the stems, stand them in a small glass of water, loosely cover the tops
The fridge itself is worth thinking about too. An nd1000 filter reference might seem out of place here, but the principle is the same as optical filtering — you’re controlling what gets through. A fridge running above 40°F is basically inviting problems. Check it with an actual thermometer (a $6 one from any kitchen store does the job).
And keep washed produce away from raw meat. Not complicated. Not negotiable.
One thing I want to flag that doesn’t get enough attention in your standard food safety basics rundown: cross-contamination from containers. That beautiful Jewelry Showcase-style glass storage set looks great, but if you’re reaching into it with hands that just touched raw chicken, none of the washing mattered. The storage is only as safe as the habits around it — kind of like how automotive cnc machining precision means nothing if the operator ignores the tolerances. The system and the human both have to hold up their end.
Not rocket science. Just consistency.
Conclusion
Honestly, none of this is hard — it’s just the stuff people skip when they’re tired or in a rush, and that’s exactly when it matters most. Wash your hands. Check your fridge temp. Keep raw meat away from everything else. That’s the core of Food Safety Basics, and if you actually do those three things consistently, you’re already ahead of most home cooks.
The habits are the product. Not the fancy storage containers, not the color-coded cutting boards — just what you do every single time without thinking about it.
So build the routine now, before something goes wrong. Your future self (and anyone eating at your table) will thank you.
Frequently Asked Questions
Q: What are the Food Safety Basics every home cook actually needs to know?
A: Wash your hands, keep your fridge at or below 40°F, and never let raw meat share a surface — or even a drawer — with ready-to-eat food. That’s genuinely it. Everything else in Food Safety Basics builds on those three habits, and if you nail them consistently, you’re already doing better than most people.
Q: How long can cooked food sit out before it’s unsafe to eat?
A: Two hours — that’s your hard limit at room temperature. Drop it to one hour if your kitchen’s above 90°F, like during a summer cookout. The bacteria that cause food poisoning (Salmonella, Staph aureus, the usual suspects) don’t need much time to multiply to dangerous levels, and you won’t be able to smell or see the difference.
Q: Why does cross-contamination keep coming up in Food Safety Basics guides?
A: Because it’s the mistake that keeps sending people to the bathroom at 2am — and it’s almost always invisible when it happens. Raw chicken juice drips onto your cutting board, you rinse it with cold water and call it clean, then you slice tomatoes on it. That’s cross-contamination, and it’s shockingly common. A $12 set of color-coded cutting boards from OXO basically eliminates the risk.
Q: How do I know if my fridge is actually cold enough?
A: Buy a fridge thermometer — a basic Taylor or Rubbermaid one runs about $8 and it’s one of those purchases you’ll never regret. Your fridge’s built-in dial isn’t calibrated to an actual temperature, it’s just a range. You want 35–38°F for the main compartment; anything above 40°F and you’re in the danger zone for bacterial growth.
Q: Can I refreeze meat that’s already been thawed?
A: If it thawed in the fridge and never got above 40°F, yes — you can refreeze it, though the texture takes a hit. If it thawed on the counter or in warm water and sat there for more than two hours, don’t risk it. The USDA is pretty clear on this one, and it’s one of those Food Safety Basics rules that people bend until they regret it.
Q: What internal temperature should chicken actually reach?
A: 165°F — measured with a thermometer in the thickest part, not near the bone. Color is useless as a guide; I’ve cut into chicken that looked perfectly white inside and was still underdone. A Thermapen ONE (around $99) is the gold standard, but a $15 ThermoPro works fine for home cooking.
Q: Is the “sniff test” a reliable Food Safety Basics strategy?
A: Honestly? No — and this one trips people up constantly. The pathogens most likely to make you sick (Listeria, E. coli, Campylobacter) don’t produce the smell that signals spoilage; that smell comes from different, mostly harmless bacteria. Something can smell completely fine and still put you flat on your back for 48 hours. Check dates, check temps, and when in doubt, throw it out — the phrase is a cliché because it’s correct.
Q: How does Food Safety Basics apply differently when cooking for kids or elderly people?
A: The rules are the same, but the margin for error shrinks dramatically. Young kids, elderly adults, pregnant people, and anyone immunocompromised can develop severe complications from foodborne illness that a healthy adult would just shake off in a day or two. Skip the rare burgers, keep everything hotter or colder than you think you need to, and don’t serve raw cookie dough — even the “edible” kind deserves some skepticism.