Acoustic treatment works when it solves a defined room problem. Panels can reduce strong reflections, shorten excessive decay, and improve the balance between direct sound and room sound. They cannot replace good speaker placement, repair every low-frequency null, or stop noise passing through a wall.
Quick answer: Identify the listening problem first, keep the speaker and seat positions fixed, and take a repeatable baseline. Use absorption where reflected energy needs to be reduced, diffusion where scattering is appropriate and there is enough distance, and deeper or tuned treatment for low-frequency problems. Then repeat the same measurement and listening checks before adding more panels.
Start With the Symptom, Not a Panel Count
A room can be echoey, blur the stereo image, exaggerate a bass range, or sound different from one seat to another. These symptoms do not share one cause. Buying identical panels before separating them can leave the room dull at high frequencies but uneven in the bass.
Use the following matrix as a diagnostic shortlist, not a remote diagnosis:
| What you notice | Likely acoustic mechanism | First controlled test | Treatment direction |
|---|---|---|---|
| Centre vocals wander or the stereo image feels vague | Strong, asymmetric early reflections | Compare left and right speaker measurements and check side-wall reflection paths | Symmetrical absorption or an appropriate hybrid treatment at the dominant reflection points |
| Speech and handclaps leave a metallic repetition | Repeated reflection between hard, near-parallel surfaces | Listen and measure before and after temporarily covering one suspect surface | Add absorption or scattering to interrupt the reflection path |
| The room feels lively long after a sound stops | Too much mid- or high-frequency decay for the use | Compare frequency-dependent decay before and after one treatment pair | Add distributed absorption, then remeasure |
| A few bass notes dominate or disappear | Room modes, boundary interference, or seating position | Move the source or microphone slightly and compare responses | Fix placement first; consider deeper low-frequency treatment only after diagnosis |
| The room sounds quieter inside but neighbours still hear it | Internal reflections were reduced, not transmission | Compare the problem inside and outside the room | Treat sound isolation as a separate building-envelope task |
This order matters because an acoustic panel is a tool, not a diagnosis. Its value depends on the frequency range, angle, location, mounting method, room geometry, and listening objective.
What Acoustic Treatment Actually Changes
Absorption reduces reflected energy
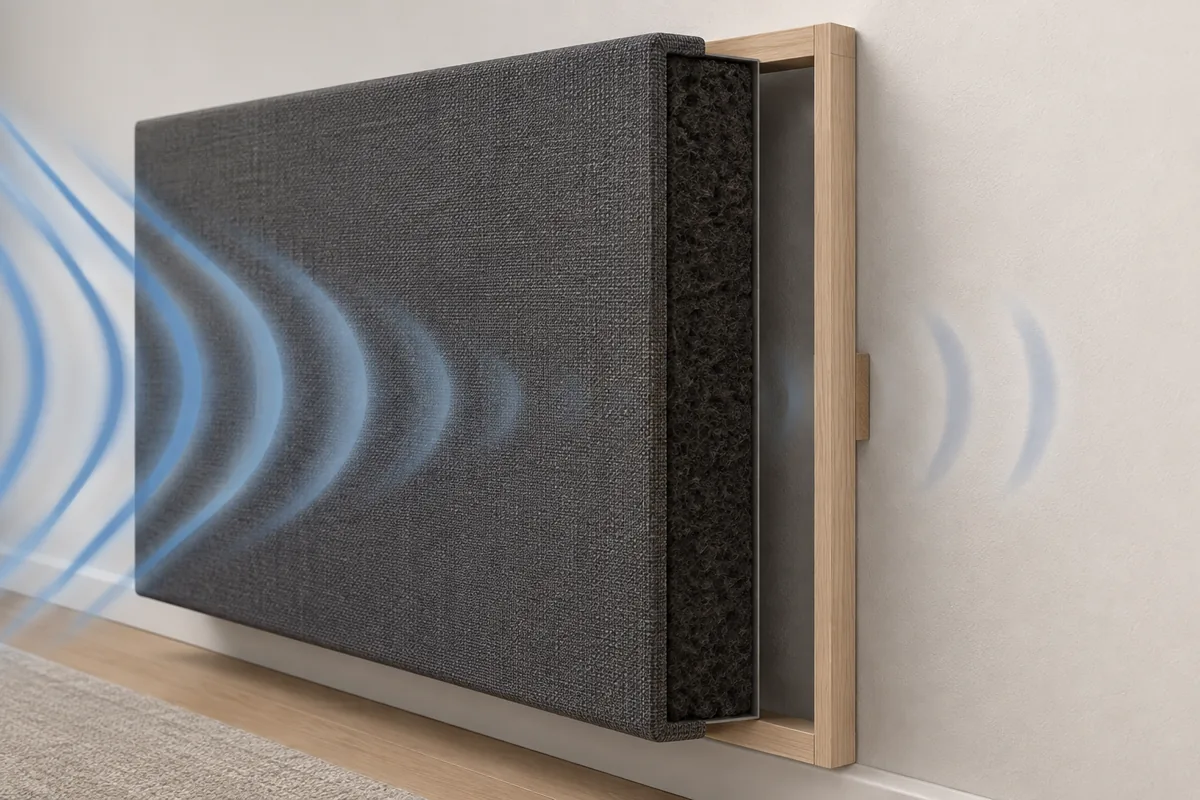
Porous absorbers allow air motion within a resistive material, converting part of the sound energy into a very small amount of heat. In practice, an absorber reduces the level of reflections within the frequency range it can address. More depth generally extends useful absorption toward lower frequencies, while a thin layer mainly affects higher frequencies.
Genelec’s current room-acoustics guidance makes this limitation explicit: thin porous layers reduce high-frequency reflections, while thicker porous material is needed as frequency falls (Genelec). That is why a visually large area of shallow foam can change brightness without fixing a lower-frequency problem.
Diffusion redistributes energy
A diffuser does not perform the same job as an absorber. Its geometry scatters incident sound across directions so that a strong, concentrated reflection becomes less coherent. The useful scattering range depends on the diffuser design and the distance between the device and listeners.
Diffusion is therefore not a universal rear-wall prescription. In a compact room where the listener sits close to the rear boundary, broadband absorption may be the more predictable option. In a larger room, a designed mix of absorption and diffusion can retain some spatial energy while reducing the audibility of reflections. Genelec likewise notes that diffusion is usually ineffective at low frequencies and recommends absorption as the primary need in many small-room conditions (Monitor Setup Guide).
Sound isolation is a different system
Acoustic treatment changes the sound field inside a room. Sound isolation reduces transmission through boundaries, gaps, ducts, and connected structures. ISO 12354-1 treats direct and indirect flanking paths through participating building elements as part of airborne isolation between rooms (ISO). A treated room can still leak sound because ordinary panels do not create an isolation assembly.
Keep this boundary firm. If the main complaint is traffic noise, a neighbour, or music escaping the room, investigate the transmission path instead of covering the source room with more absorbers.
How to Judge Acoustic Treatment Panels
The most useful product evidence is not a single marketing number. Look for frequency-by-frequency absorption data, the test method, specimen dimensions, and the mounting condition. An absorber tested with an air cavity behind it is not directly equivalent to the same face material fixed flat to a wall.
ISO 354:2003 specifies a reverberation-room method for measuring the sound absorption of wall and ceiling treatments; the standard was reviewed and confirmed in 2024 (ISO). ASTM C423-23e1 also measures absorption in a reverberation room and warns that practical rooms rarely reproduce the diffuse laboratory sound field exactly (ASTM International). ASTM further notes that measured coefficients can sometimes exceed 1 because of edge and diffraction effects. That does not mean a panel absorbs more energy than reaches it; it is a consequence of the test method’s operational area.
Before comparing two panels, ask:
- Is the result a full absorption curve or only a single-number rating?
- Are the thickness, face, backing, frame, and air gap the same as the product being sold?
- Was the item tested as a plane absorber, a suspended object, or another mounting type?
- Does the reported frequency range include the problem seen in your measurement?
- Is the source a traceable laboratory report rather than an unsourced chart?
Single-number ratings are useful for broad comparison, but they can hide weak performance in one part of the spectrum. A panel with an impressive average can still be unsuitable for a bass problem.
A Measurement-Led Placement Plan
1. Freeze the source and listening geometry
Set the speakers and main listening position before locating treatment. Keep crossover, tone controls, room correction, volume, doors, curtains, and large furniture unchanged during comparisons. If you alter several variables between sweeps, you cannot tell which change produced the result.
Take a baseline at ear height using a calibrated measurement microphone when possible. Measure each speaker separately before combining channels. Save the file with the date, microphone location, speaker, and room condition.
2. Identify the strongest early reflections
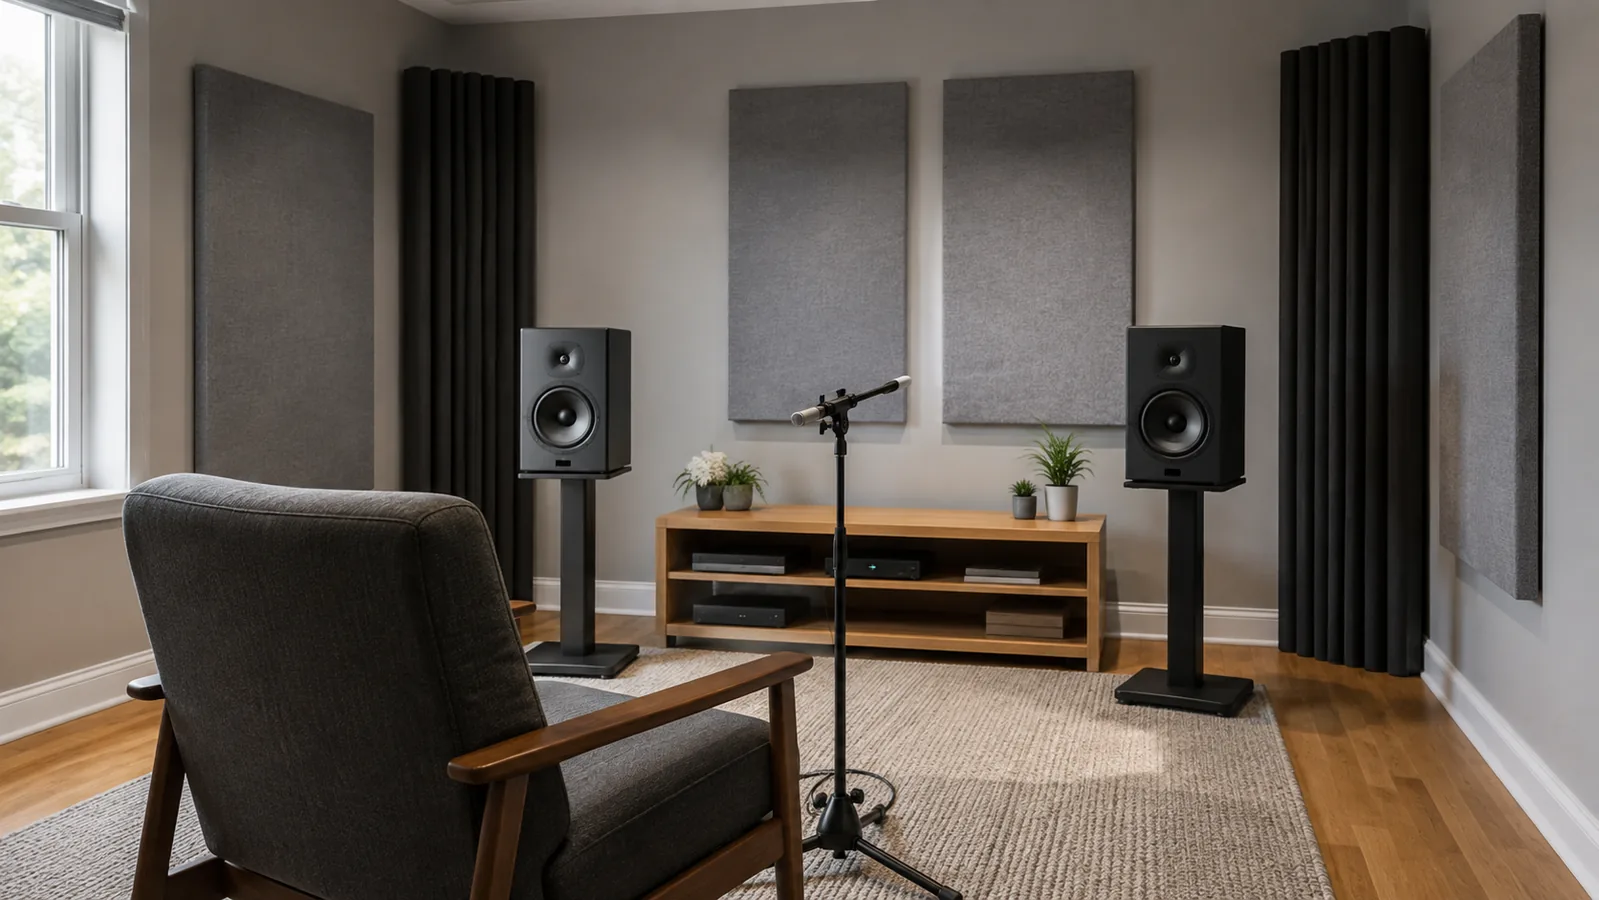
The first useful treatment location is often a surface that sends a strong early reflection from a speaker to the listener. Side walls and the ceiling are common candidates, but the exact point changes with speaker and seat geometry.
The mirror method is a practical locator: from the listening position, note where a speaker becomes visible in a mirror moved flat along a surface. Revel’s loudspeaker manual describes this approach for front, side, rear, and ceiling surfaces (Revel Performa3 M106/M105 manual). Treat the result as a shortlist, then verify acoustically.
Cover enough area around the zone to accommodate both speakers and normal head movement. Keep left and right treatment symmetrical unless measurements show a deliberate reason not to. Install a pair temporarily before committing to every surface.
3. Control broad decay without making the room top-heavy
If decay remains excessive across a broad mid- and high-frequency range, distribute treatment rather than clustering all panels on one wall. Alternating absorptive and reflective areas can preserve some natural room character. A ceiling cloud may help when the ceiling reflection is strong, but it must be mounted safely and clear of lights, sprinklers, vents, fans, and loudspeakers.
Do not chase the lowest decay number. The appropriate result depends on room volume, listening distance, use, and design target.
4. Treat low frequencies as a separate problem
Low-frequency peaks and nulls are strongly affected by speaker position, listener position, and room modes. Surface panels designed for speech or flutter echo may do little in this region. First optimise the source and seat positions, then decide whether substantial porous traps or tuned devices are justified.
For a practical placement workflow, see the site’s subwoofer placement guide. Its measurement-first method helps distinguish a geometry problem from one that physical treatment can realistically improve.
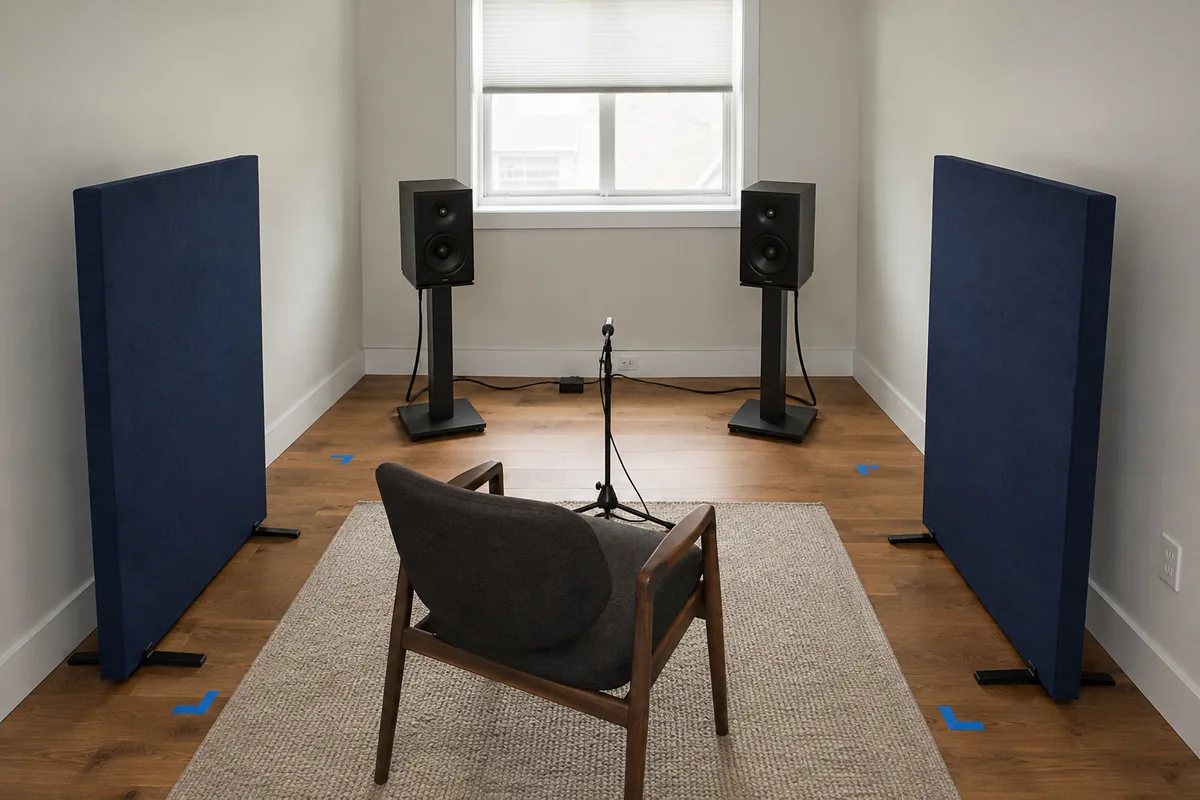
Verify the Result Before Adding More Treatment
A successful treatment change should be visible in the metric connected to the original complaint and audible in a level-matched listening check. Do not expect every graph to become smoother at once.
Repeat the baseline sweep with the same microphone position, level, channel, windowing, and room state. Compare:
- Early reflections: Did the targeted arrival fall relative to the direct sound?
- Decay by frequency: Did the problem band shorten without the upper range becoming disproportionately dry?
- Frequency response: Did broad interference improve, or did a placement-related null remain?
- Left-right consistency: Are the two channels more similar around the listening position?
- Listening result: At matched playback level, are image focus, dialogue clarity, and tonal balance improved across normal head positions?
Room EQ Wizard’s official help explains that an impulse response can reveal boundary reflections and help judge treatment effectiveness (REW Help). Repeatability matters: moving the microphone between measurements can change the trace even when the room has not.
If one panel pair clearly improves the intended reflection, retain it and test the next highest-priority location. If the metric does not move, reconsider the suspected path, the panel’s effective range, and its mounting. More of the wrong treatment is still wrong.
Common Treatment Mistakes
- Using appearance as evidence. A sculpted or fabric-covered surface is not automatically an effective broadband absorber or diffuser. Ask for traceable test data.
- Treating every problem with thin panels. Shallow products may reduce high-frequency energy while leaving lower-frequency decay and modes largely unchanged.
- Ignoring mounting conditions. Depth, backing, edge exposure, and air space can change results; match the tested assembly where practical.
- Covering an entire room at once. Large uncontrolled changes make diagnosis difficult and can remove too much high-frequency energy.
- Measuring after changing the seat or speakers. The comparison no longer isolates treatment performance.
- Equalising before fixing strong reflections. Electronic correction changes level by frequency; it does not remove a reflection path or shorten physical decay.
- Calling treatment soundproofing. Internal clarity and transmission loss are different objectives with different construction requirements.
FAQ
How many acoustic treatment panels does a room need?
There is no reliable universal count. Room size, surface materials, speaker directivity, listening distance, use, panel absorption by frequency, and mounting all change the answer. Begin with one controlled pair at the strongest verified reflection points, repeat the baseline test, and expand only when the result supports another treatment step.
Are acoustic foam panels enough?
They may help with flutter echo or high-frequency reflections when their tested performance matches the problem. Thin foam is not a substitute for broadband or low-frequency treatment. Check the absorption curve and mounting condition instead of judging by wedge shape, colour, or a product name.
Should acoustic panels go behind the speakers or at the side walls?
Either can be correct because they address different reflection paths. Side-wall panels often target early lateral reflections at the main seat. Front-wall treatment may reduce reflected energy behind the speakers, but speaker-boundary interference and low-frequency behaviour also depend on distance and placement. Measure the candidate surface before deciding.
Can software replace acoustic treatment?
No. Calibration and equalisation can adjust level and timing within their operating limits, but they do not physically absorb a reflection or shorten room decay. Use placement and treatment to address geometry and time-domain problems, then apply calibration to the remaining correctable response.
Conclusion
Effective acoustic treatment is a controlled experiment: diagnose the symptom, choose the mechanism, place a suitable assembly, and verify the same condition before and after. Acoustic treatment panels are most useful when their tested frequency range and mounting match a measured reflection or decay problem. Start with the strongest early reflection, keep low-frequency treatment on a separate decision path, and add material only when the evidence shows why.
Sources
- Genelec. “How to Calibrate Your Monitors and Improve Room Acoustics?” Accessed September 4, 2026. https://www.genelec.com/calibration-acoustics
- Genelec. “Monitor Setup Guide.” Accessed September 4, 2026. https://assets.ctfassets.net/4zjnzn055a4v/3oerOc4piQKHTbc2tm2sK7/fa3f672b49d6fba7bc90fabb140e3c0d/Genelec_Monitor_Setup_Guide.pdf
- ASTM International. “ASTM C423-23e1: Standard Test Method for Sound Absorption and Sound Absorption Coefficients by the Reverberation Room Method.” Updated August 9, 2024. https://store.astm.org/standards/c423
- International Organization for Standardization. “ISO 354:2003 — Acoustics: Measurement of Sound Absorption in a Reverberation Room.” Confirmed June 5, 2024. https://www.iso.org/standard/34545.html
- Harman International / Revel. “Revel Performa3 M106/M105 Bookshelf Loudspeaker Owner’s Manual.” Accessed September 4, 2026. https://www.revelspeakers.com/on/demandware.static/-/Sites-masterCatalog_Harman/default/dw5dabc804/pdfs/TR01035_REVP4835_Perf3_M106_M105_OM.pdf
- Room EQ Wizard. “Impulse Responses.” Accessed September 4, 2026. https://www.roomeqwizard.com/help/help_en-GB/html/impulseresponse.html
- International Organization for Standardization. “ISO 12354-1:2017 — Building Acoustics: Airborne Sound Insulation Between Rooms.” Confirmed May 15, 2023; revision initiated in 2025. https://www.iso.org/standard/70242.html